A sudden nightmare,
Buried under endless strands,
What magic is this?
I have a new-found appreciation for wire management in electromechanical projects. Certainly didn't think it would be as messy or complicated as my end result for this delta printer. They often say in meche to 'measure twice, cut once,' but when it comes to wiring, I'm fairly certain it doesn't matter how many times you measure. You'll always end up a sad panda, so you might as well commit to cutting twice.
Admittedly, I didn't do myself too many favors with the relatively low-profile of my printer base. The Rostock MAX has a pretty hefty base with lots of accessible room beneath the bed for the power supply and control board. The Fisher Delta seems to hide away a lot of the electronics in the free space above the effector and arms. I'm guessing everyone else just silently cries like I do and just aims for minimizing the mess hanging off the printer.
What I Did
These adhesive wire tie mounts were pretty indispensable for securing cables to the printer frame. I highly recommend them, if you're mostly looking for a simple but tidy wiring management solution.
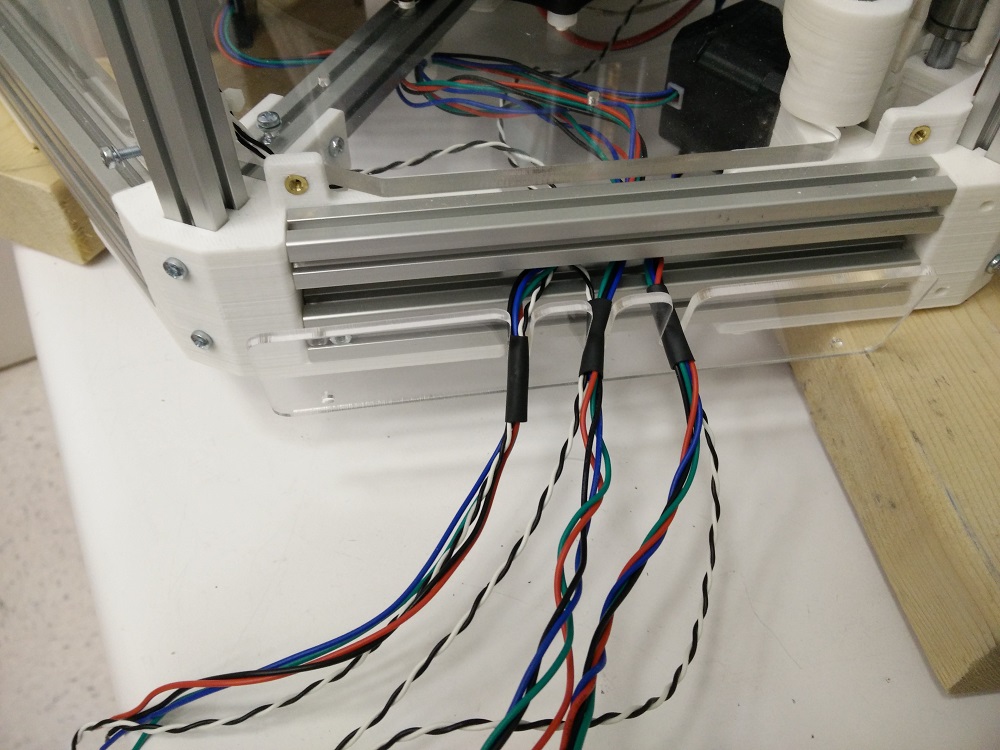
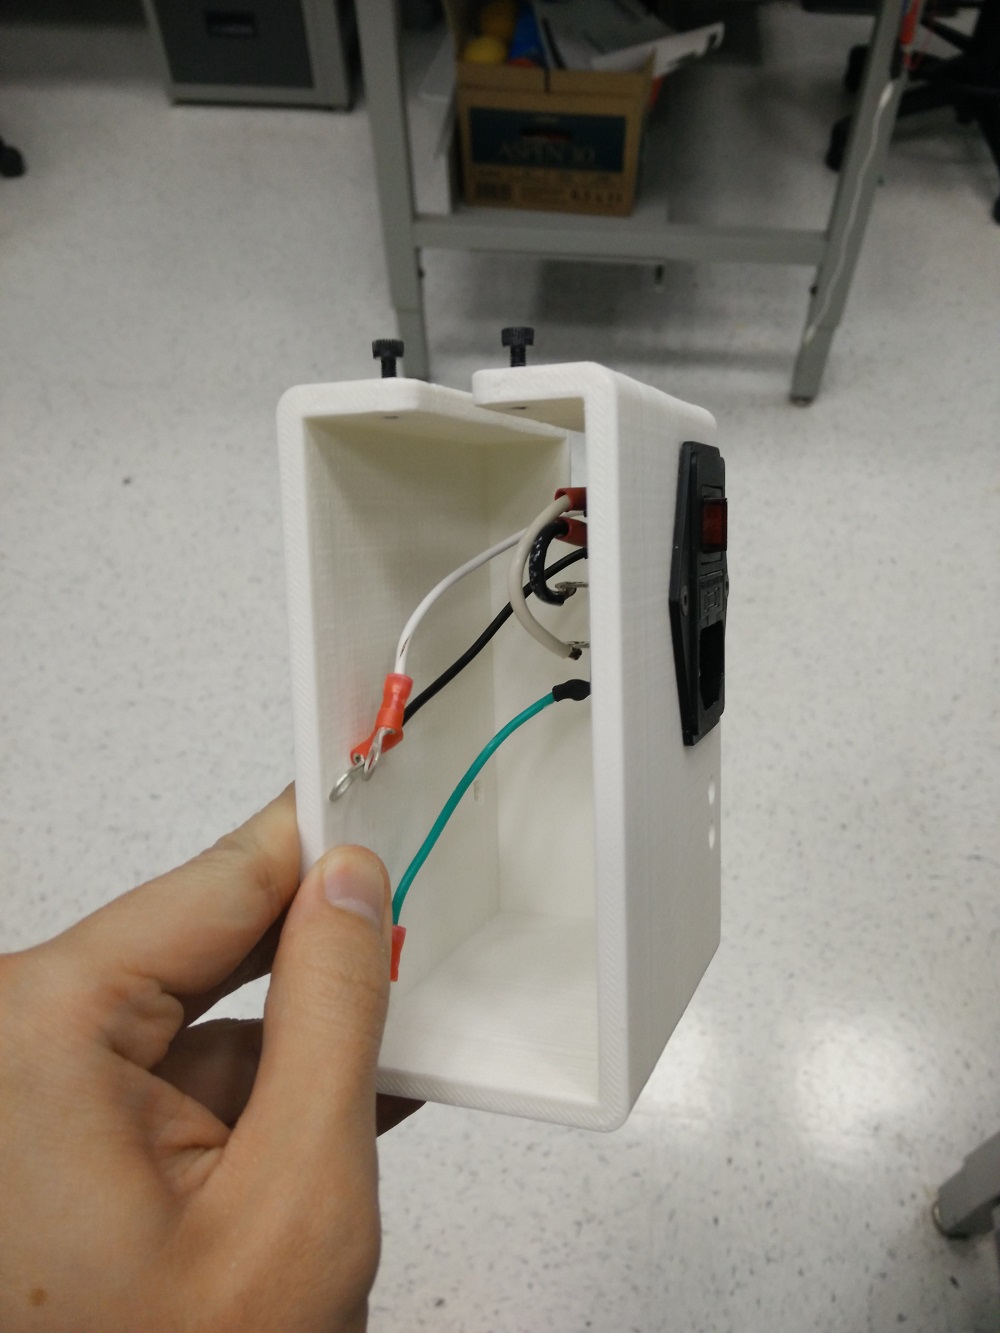
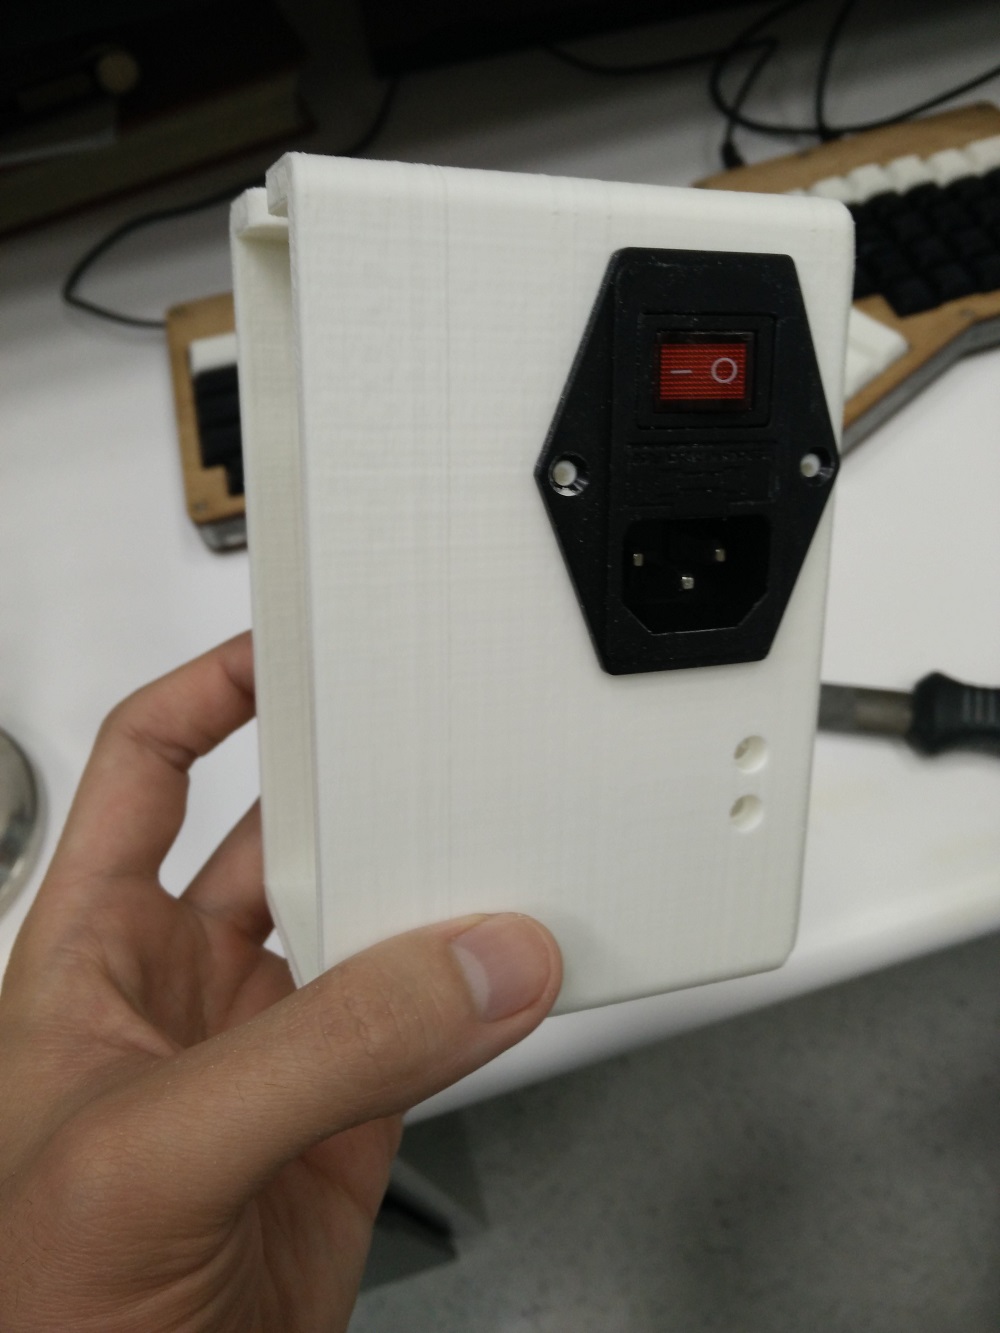
To accommodate power supply and/or controller board replacements in the future, I mounted both to the outside via a single printed bracket. The power supply slides into the bracket, and the controller board is mounted on nylon standoffs on the outer surface. To help route and group the wires before they leave the printer body, I lasercut some panels with slots that attached to the 1515:


The default power supply itself is a bit lacking and only had screw-terminals, so I added a proper switch. Otherwise, I'd need to splice a power cord and unplug everytime I wanted to power down the printer. This particular switch has a built-in fuse, so it seemed like the appropriate choice. Might be overkill though.
What I Should Have Done
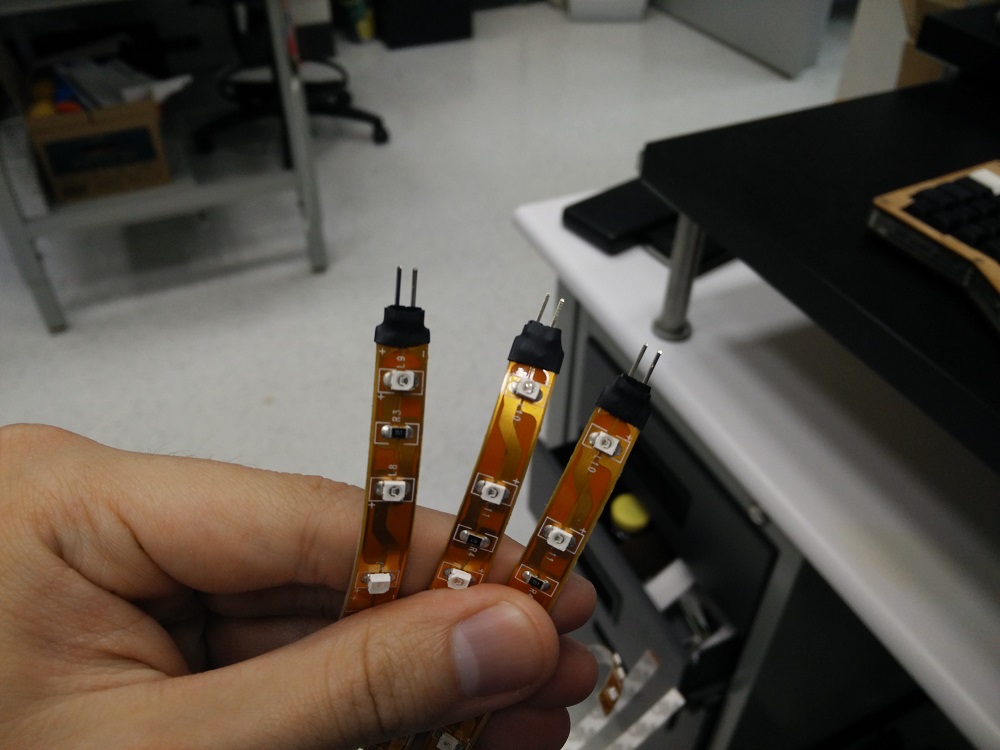
I tried to go for modularity as much as possible, since I didn't want to have to do an entire teardown if any of the wiring needed replacing or modifications in the future. I'm already finding out how difficult it is to tweak some of the mechanical components due to lack of foresight. There are already a bunch of connectors littered within the printer for the LEDs and a minor power switch that controls the fans. The connections are spread out a bit haphazardly:

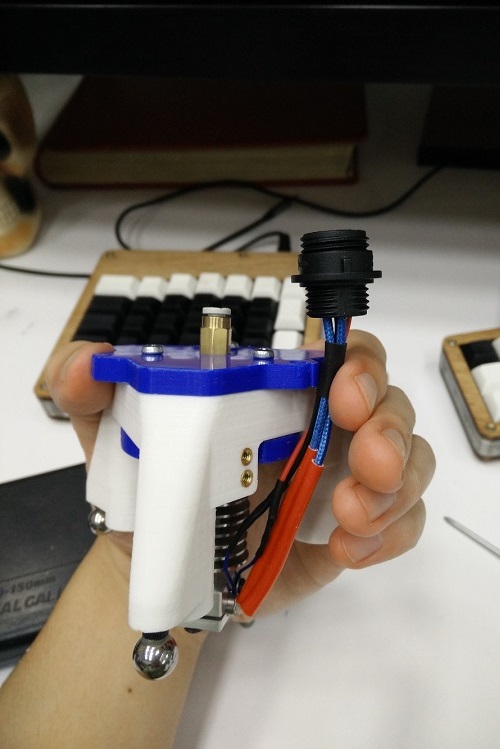
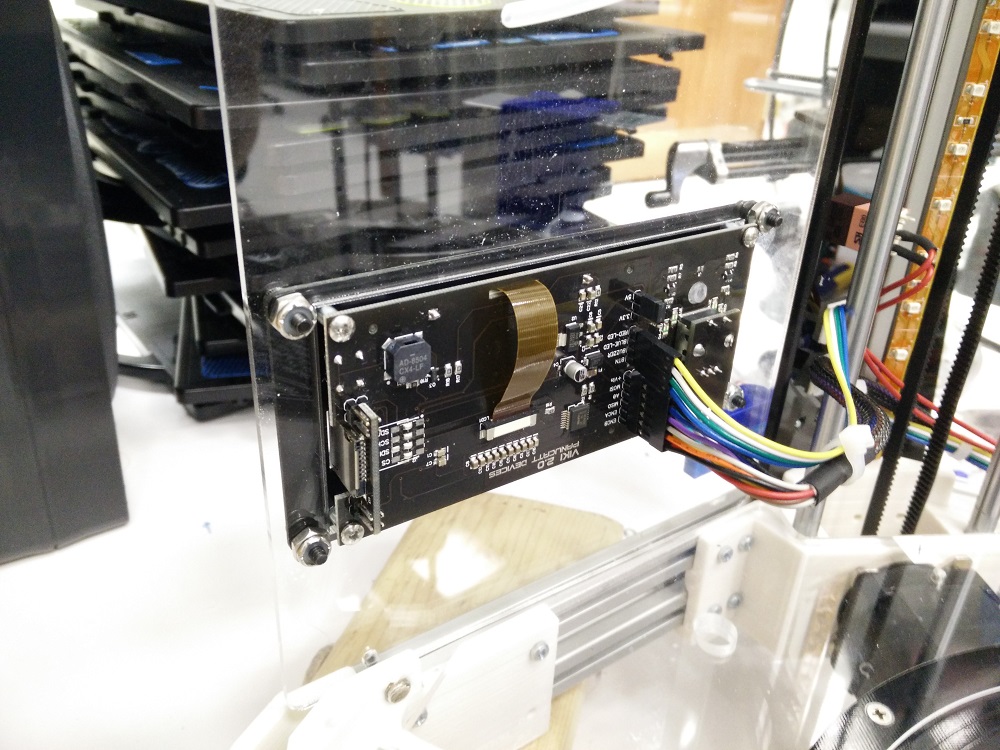
I really didn't plan for cable mounting points on any of the printed components, and I wasn't using any standardized electrical connectors (though 0.1" connectors and pin headers have held up so far). I'm testing out some IP68, twist-lock, sealed connectors from Bulgin for the hotend/thermistor, and I had considered a DB9 or DB15 connector for some of the other essentials. The Viki LCD uses quite a few cables, making packaging rather difficult. In retrospect, I'm now really appreciating the ability to run wires through the middle of the 8020 beams in the Rostock MAX.
I think if I were to do it all over again (and I just might have to someday), I'd first split up all the wiring between essentials (ie. steppers, endstops) and non-essentials (ie. lighting, cooling fans, extra hotends), and make sure to have connection breaks as lose to those components as possible so that they could be easily swapped out w/o tearing out a lot of the current wiring. If possible, I'd run the wiring along the periphery of the printer as much as possible so that I could better use the corners and beams as cable mounting points. Unlike my current setup, where I sort of have 2 branches of cables converge together in a conglomerate in the back, I think it'd be better to have some sort of an enclosed cable chain to pull everything together.
Finally, and I may be in the minority on this, but I don't think it'd be the worst idea in the world to completely decouple the printer from the power supply and controller board. I think it'd be perfectly fine (and maybe even desirable) to keep the power supply and controller in their own enclosure outside of the printer, connected via a (perhaps excessive) number of cables.