Extruded plastic,
Relegated to a mess,
Without good design
Got tons of stuff I should write up now that I have time, but I figured I'd start by documenting a recent 3D-printed project I dove into on a whim. Unlike most of my projects that start on a whim, I actually completed this one pretty thoroughly, so I thought it'd be worth describing.
About a month ago, saw this headphone toggle design on Reddit, for switching between headphone and speaker audio outputs, and wanted one for myself. Instead of using a sensor and switching via software, I thought I'd try a mechanical toggle instead. I found this 3PDT toggle and these audio jacks on Amazon and used them for the basis of my design.
On parts described from here on out are publicly available via Onshape
Initial Design
I already had a printed headphone hook attached to my desk, so my initial design started there:
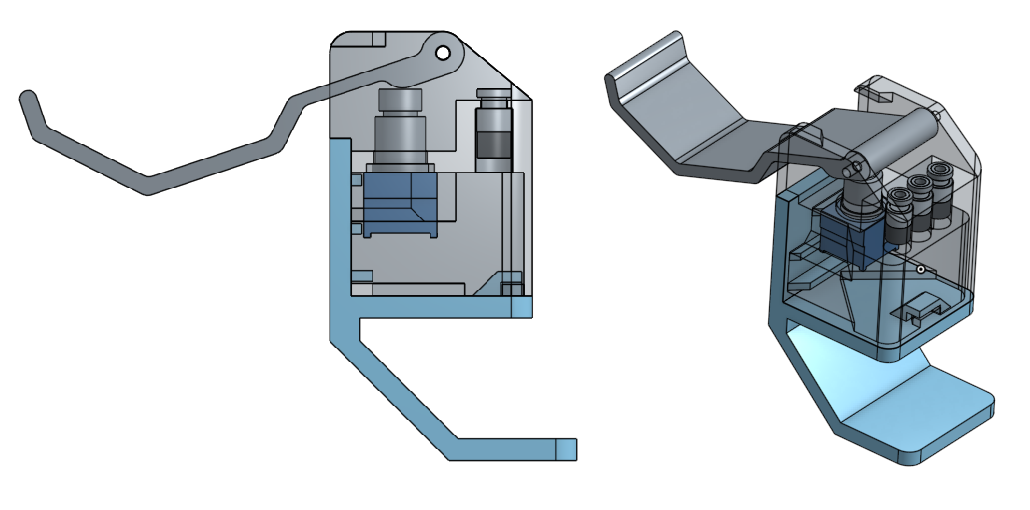
Pretty straightforward. The headphones hang on the hook, and when enough weight/force is applied, the switch gets toggled, and we connect the source to either the headphone or speakers jack. Now, I did make a pretty major mistake here. I had hoped to get a 3PDT button, not a toggle, so that I could calibrate everything such that the weight of the headphones would switch the output. With a toggle, that's definitely not the case. In fact, if the headphone's too heavy (or if the hook offset is too large), you have to physically lift the headphones to reset the switch after toggling, which could be a little annoying.
In terms of designing for a functional print, I followed some pretty basic principles. Any cantilevered part without support would be at least 5mm thick, any walls were a minimum of 3mm thick, and I tried to avoid necessary support material by utilizing features angled at 45 degrees wherever possible. For press-fit features, I maintain a dimensional difference of about 0.4-0.5mm between the mated parts. Overall, the parts printed without major issues, though mated parts weren't exactly flush. I tried to make this particular design without any additional fasteners, but it looks like I still have a ways to go to get printed press-fit interfaces more seamless.
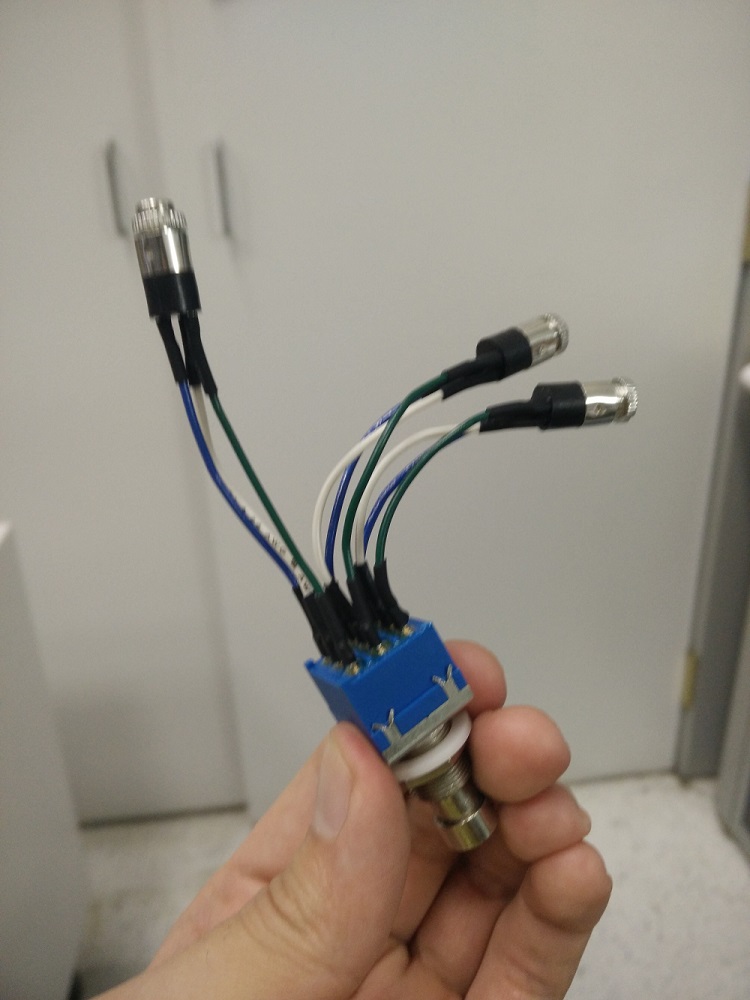
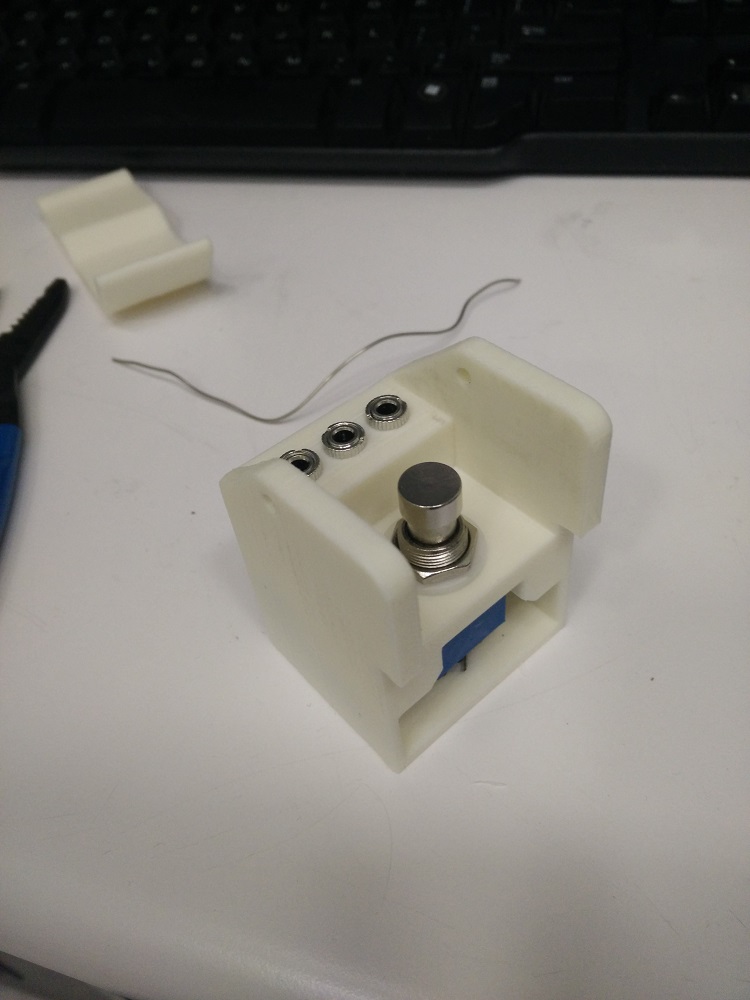
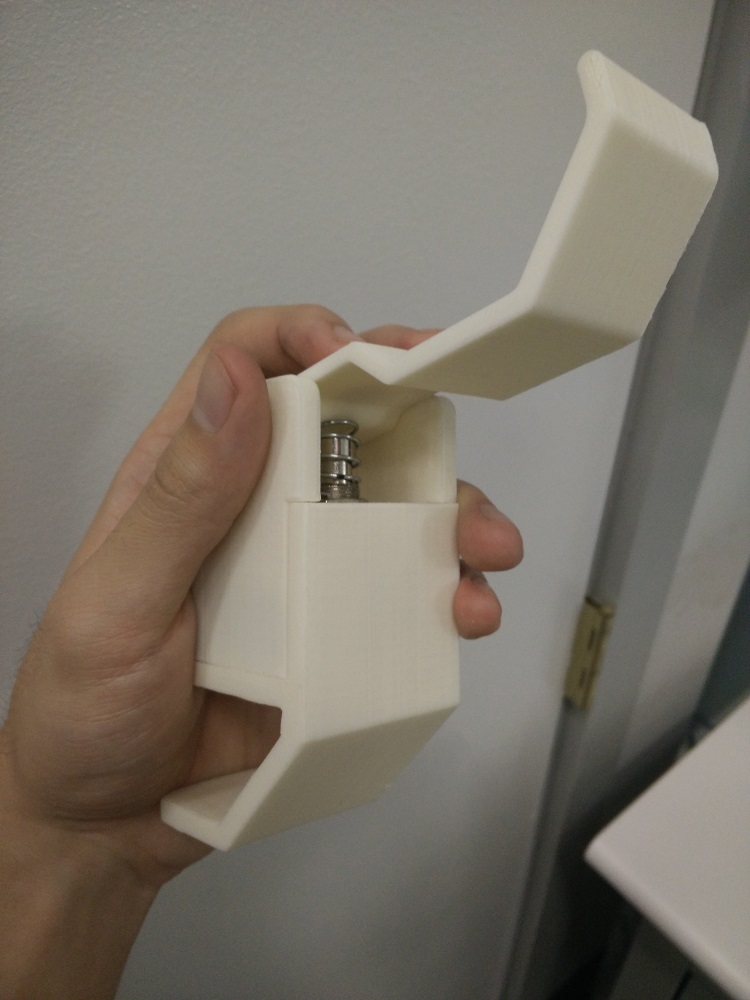
In terms of additional components, there's a set of 1/8" pins serving as the pivot joint, and I added a spring to the button to keep the headphone hook elevated a bit more even when the headphones are resting on it.
Second Design
The first design was functional enough and got the job done, but I didn't think I properly designed for the 3PDT switch as a toggle. Also, I had an extra 3PDT switch and 2 audio jacks from my original order, so I ended up designing an alternative stand:
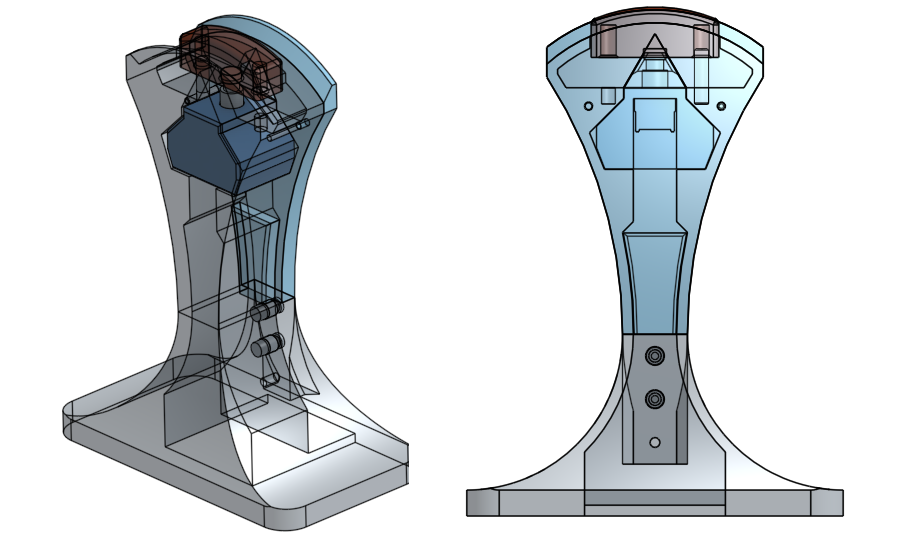
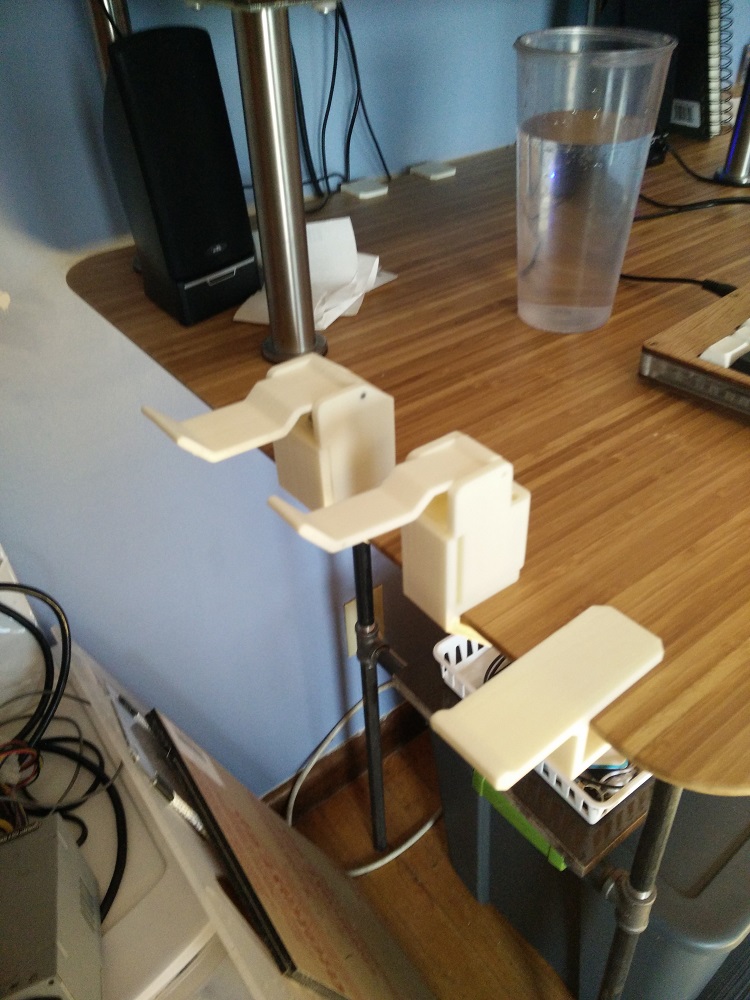
This one's a lot bigger, which proved challenging to print, especially with ABS, but I think the final monolithic design is cleaner. I included a few pins as well in this design to help with alignment in the assembly, but it turned out they weren't really necessary. The biggest frame component ended up being a 20 hour print at 35% infill, and by the grace of the 3D-printing gods, it printed okay with minimal warping on my Rostock MAX. I definitely like how much cleaner it looks as a single part, though at about 240mm in height, it might give a lot of printers some trouble, especially with its wide base that's prone to warping.
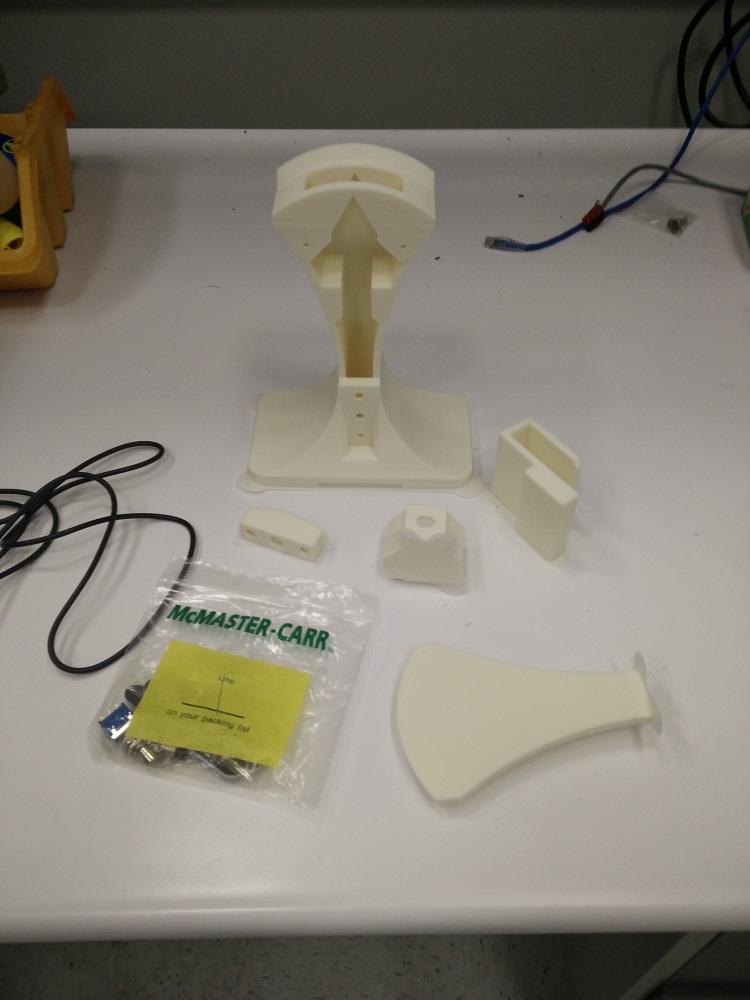
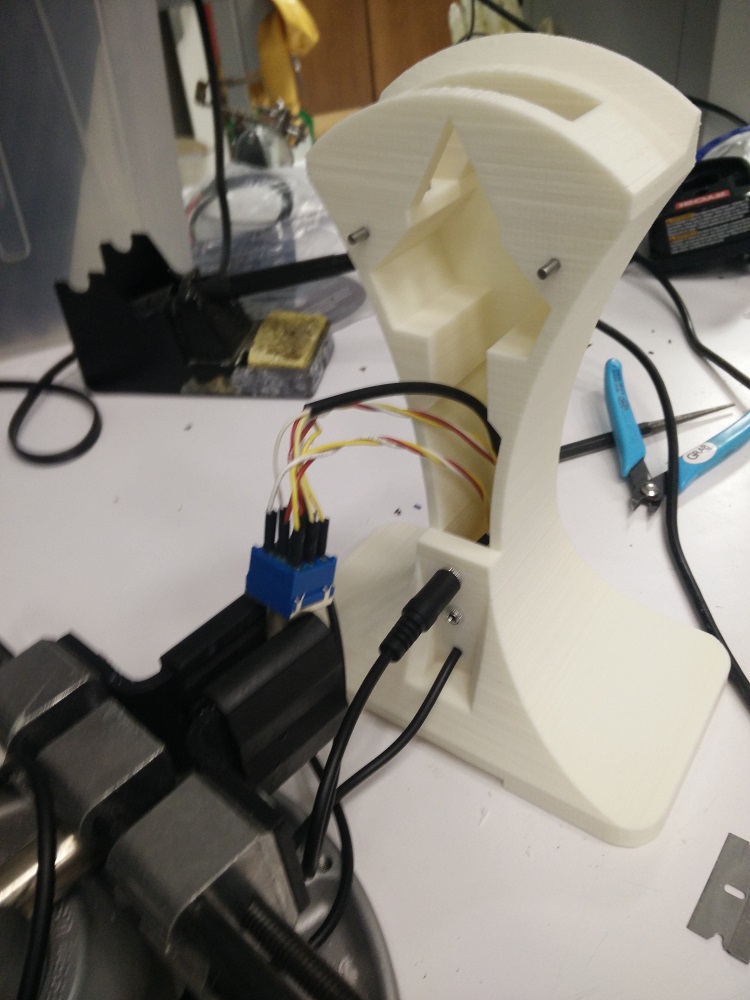
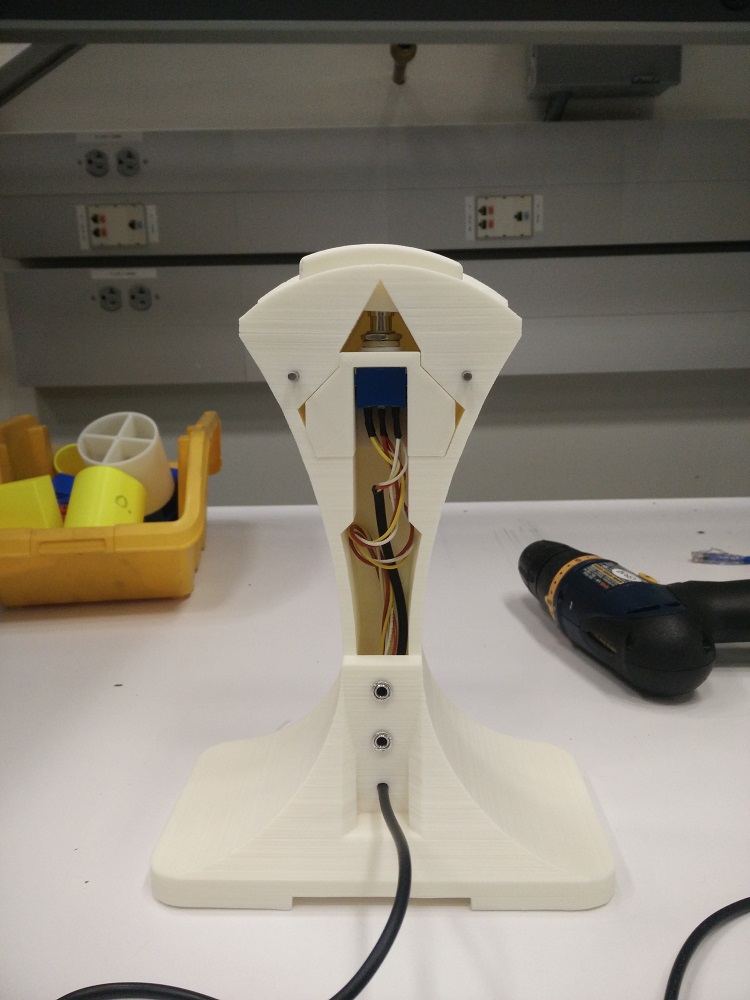
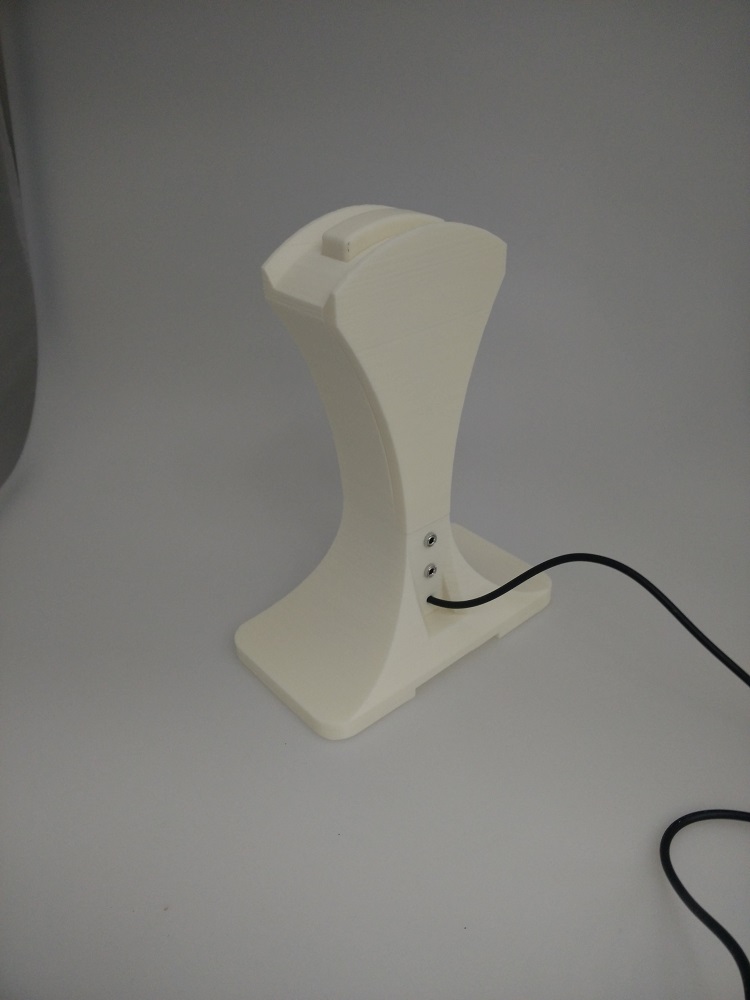
Side by side, the two designs look like:
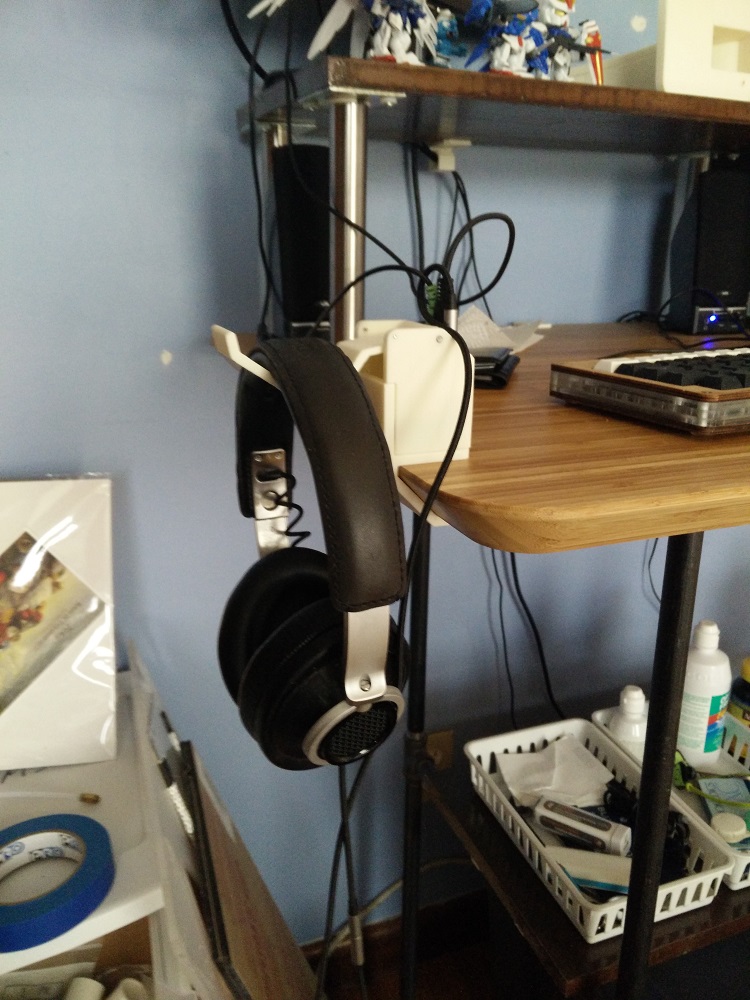
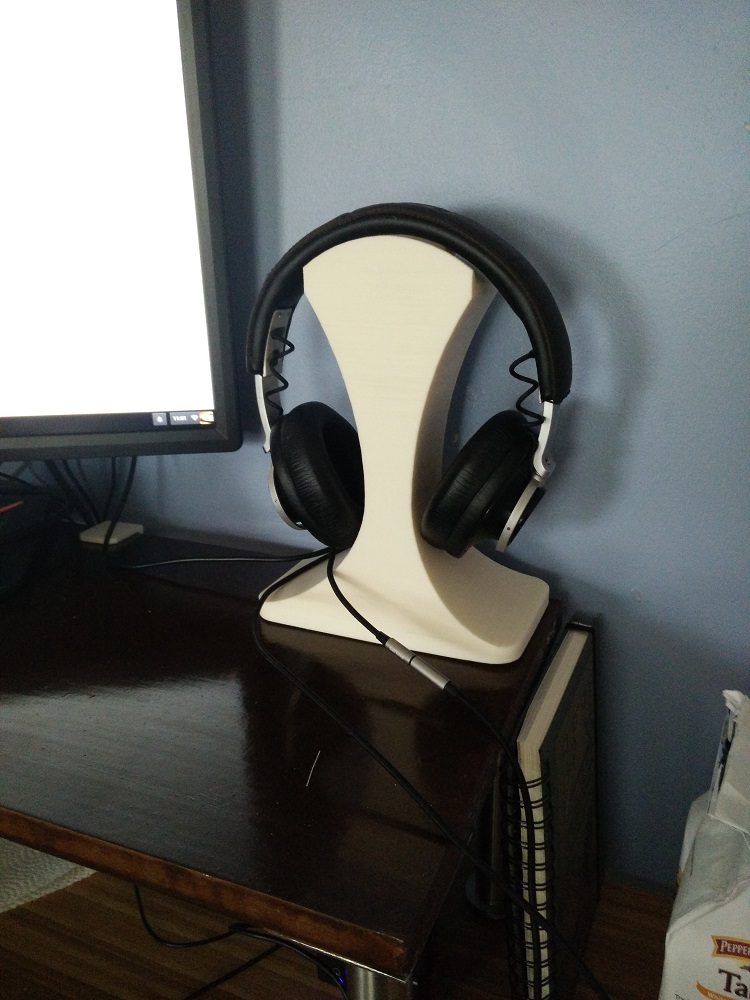
For the second design, there's also a hidden clip on the bottom that press-fits onto the shelving, so that the headphone stand itself doesn't have to be super heavy and still remain fixed pretty well in place.
Next Design??
I'll probably stick with my current design for a while yet, but I'm definitely not entirely satisfied with it. I definitely like how the other printed stand and my first design acted more like a hook and let the headphones hang more freely. The toggling switch definitely works better in the second design, imo. It feels a bit more natural to just depress the top button whenever I want to swap outputs. Also, I'm thinking maybe the headphone audio jack should go on the front, with the source and speakers jack hidden in the real.
In terms of printing, this project's got me thinking a lot more about optimizing the geometry of the bottom layers to minimize warping, especially if the printed part has a huge base. I'll probably experiment with introducing more voids closer to the bottom layers in future prints to see if that improves the overall quality.
Updated (11/4/2016): Next Design.
So yeah, ended up revising yet again after all. Added additional curvature from the side for a more organic form and also so that the headphones could hang more freely. I also ended up moving the audio jack for the headphones to the front:
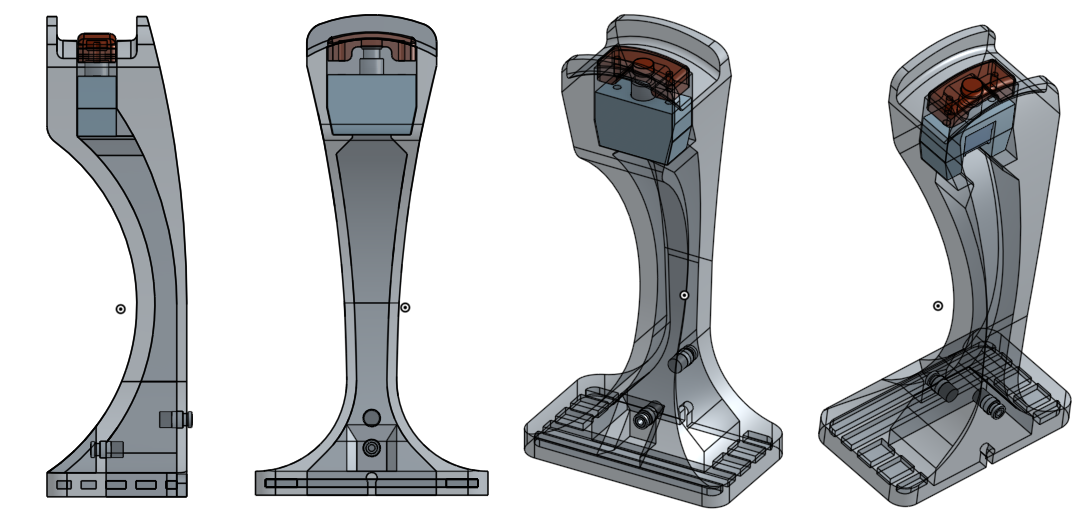
Like I said above, I also tried introducing some voids into the base to try and minimize warping. Warping was certainly less evident (though maybe that was just luck of the print), but this also reduced the base weight, making it easier to accidentally move the stand around. Still, not a functional deal-breaker, and the end result still worked like the last design above.
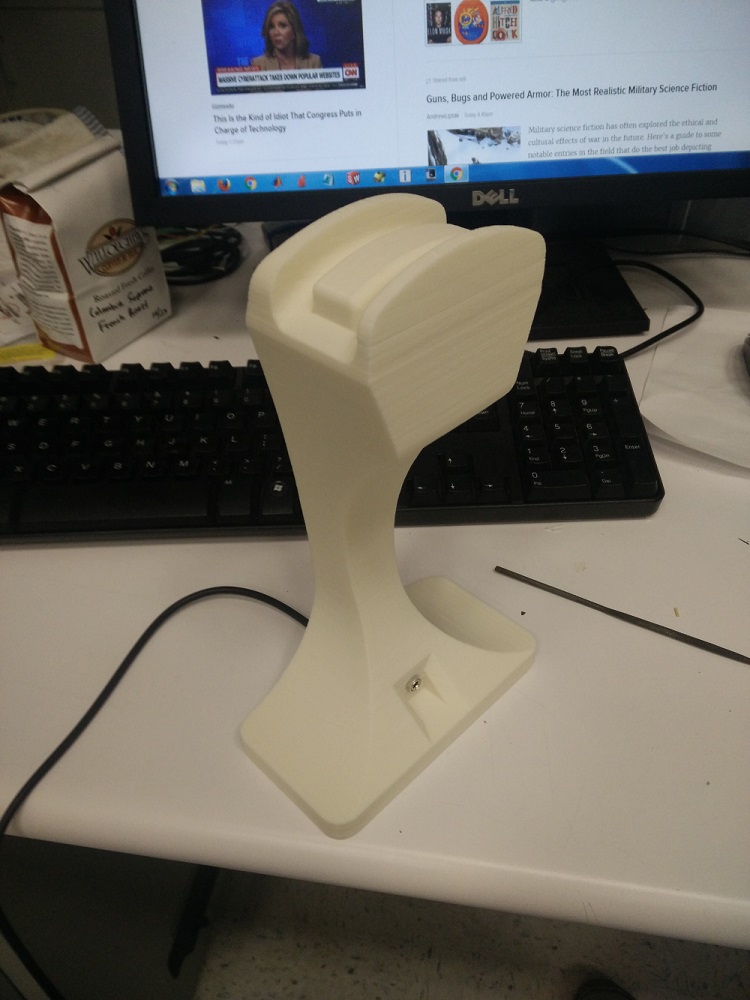
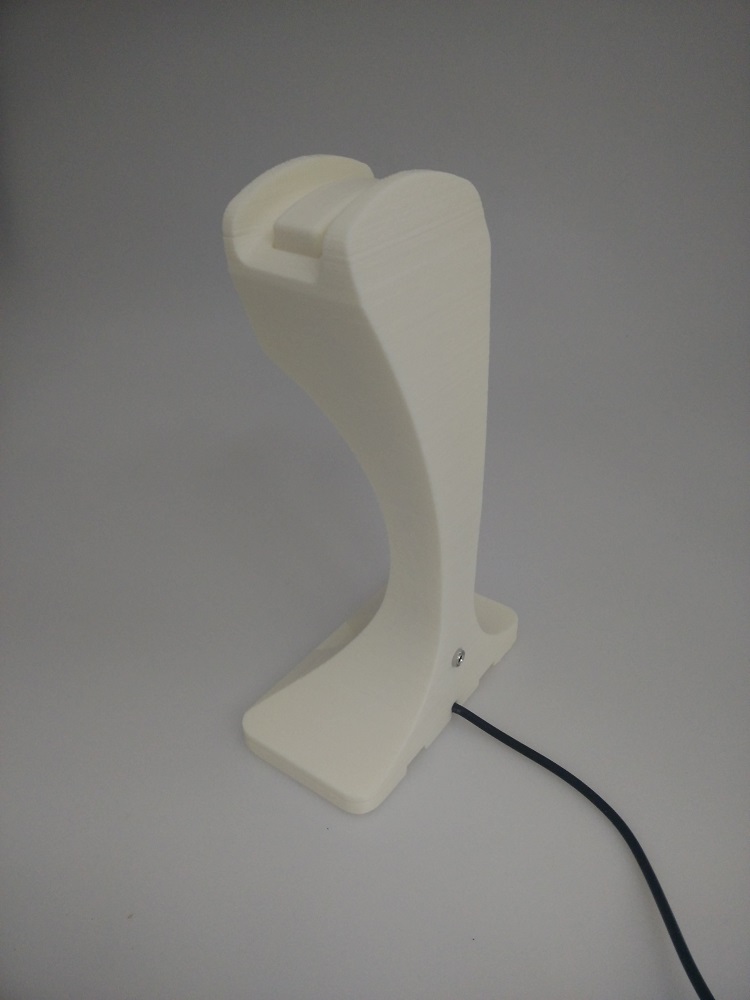
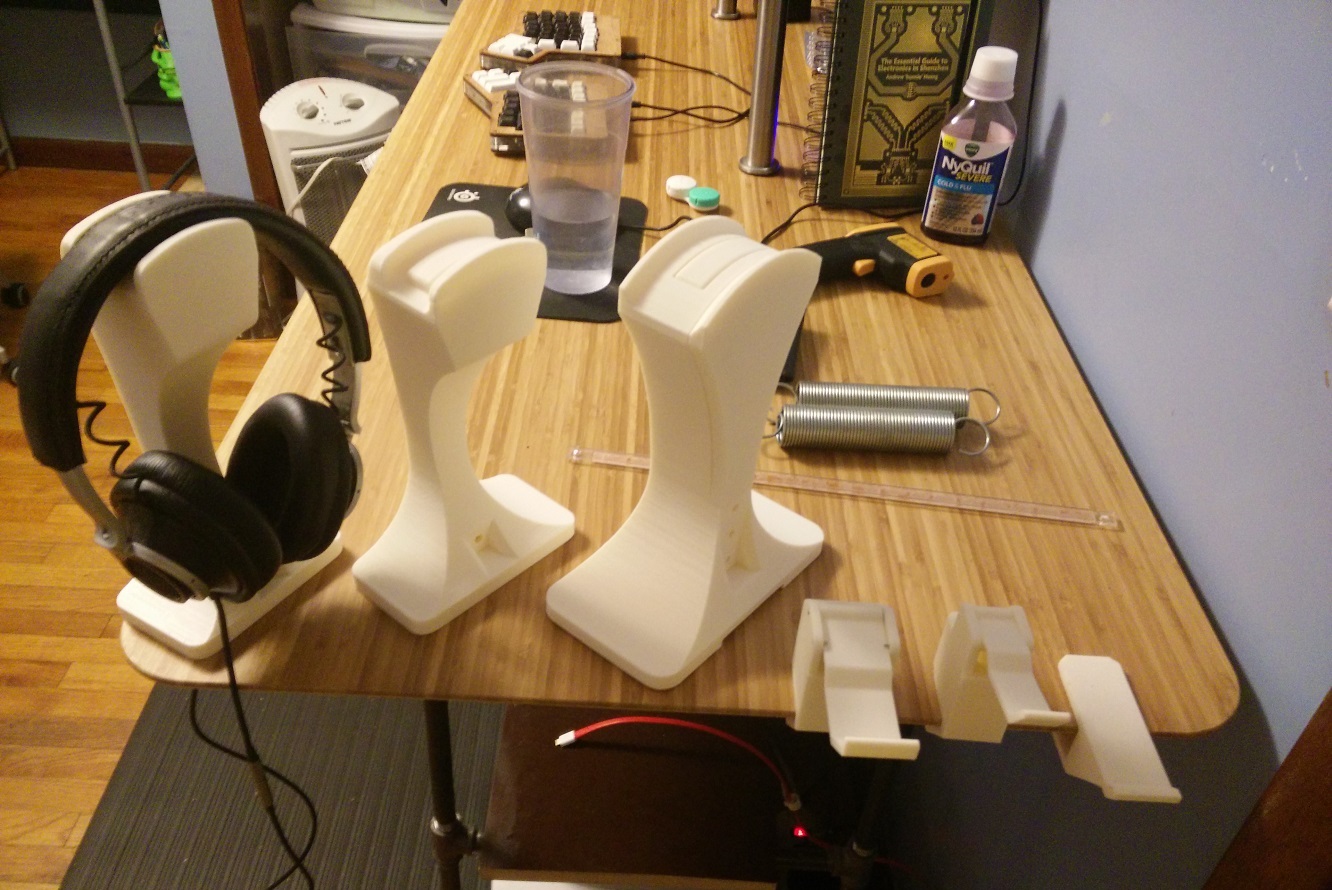
Updated (11/18/2016): Sign, Another Next Design.
Revised yet again.
While using the last design, I kept losing track of whether I had the headphones or speakers engaged. Like the design that inspired this mess of a design progression, I really want a stand that would trigger speakers whenever the headphones were resting on it. The challenge remained finding a good 3PDT switch with momentary latching behavior instead of toggling/latching. Turns out they certainly exist, but since they're designed for foot pedals, the required force is actually quite high.
Solution? Just use 3 limit switches (SPDT) from 3d printers together:
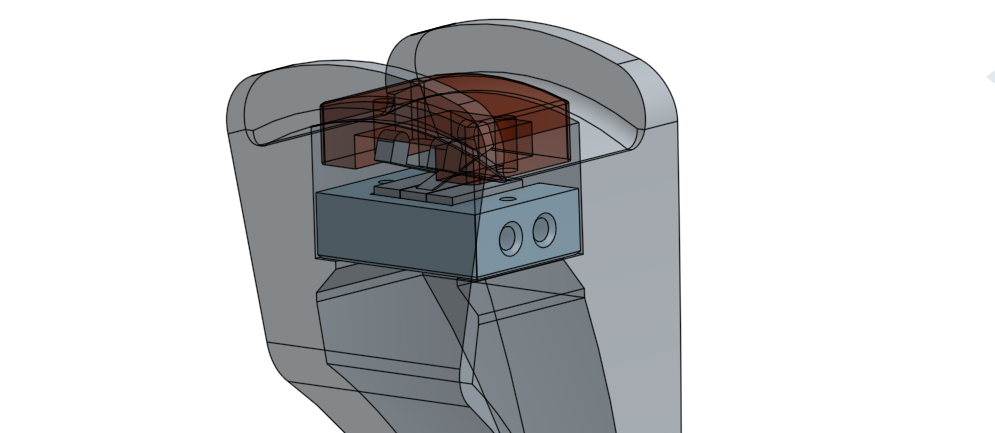
This makes me a little concerned, since all 3 limit switches have to be triggered for the design to work properly, but that arguably shouldn't be a problem with how the top cover is designed relative to the headphone band. In practice, the design ended up looking like:
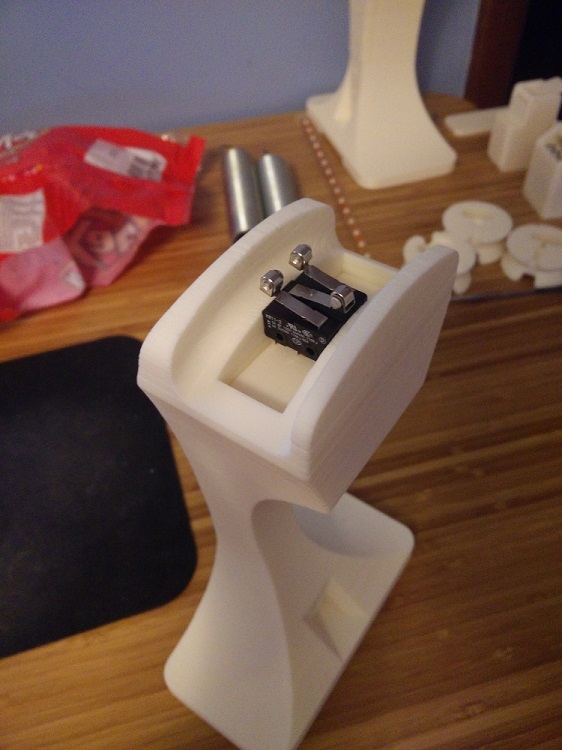
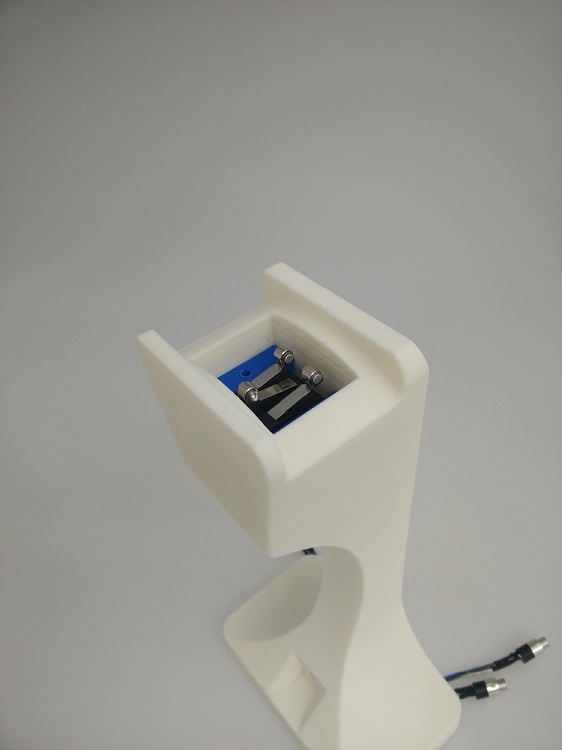
End result (finally) works to my liking. The headphones' weight is more than enough to trigger the limit switches, and I haven't had any issues with only a few of them triggering when the headphones are resting on the stand. It's definitely unclear if the switches' springs will lose their stiffness over time, as that could still be a point of failure. Here's a short video of it working (sorry if you hate instagram).
Tags: 3d-printing, functional print, hack